Getting Started
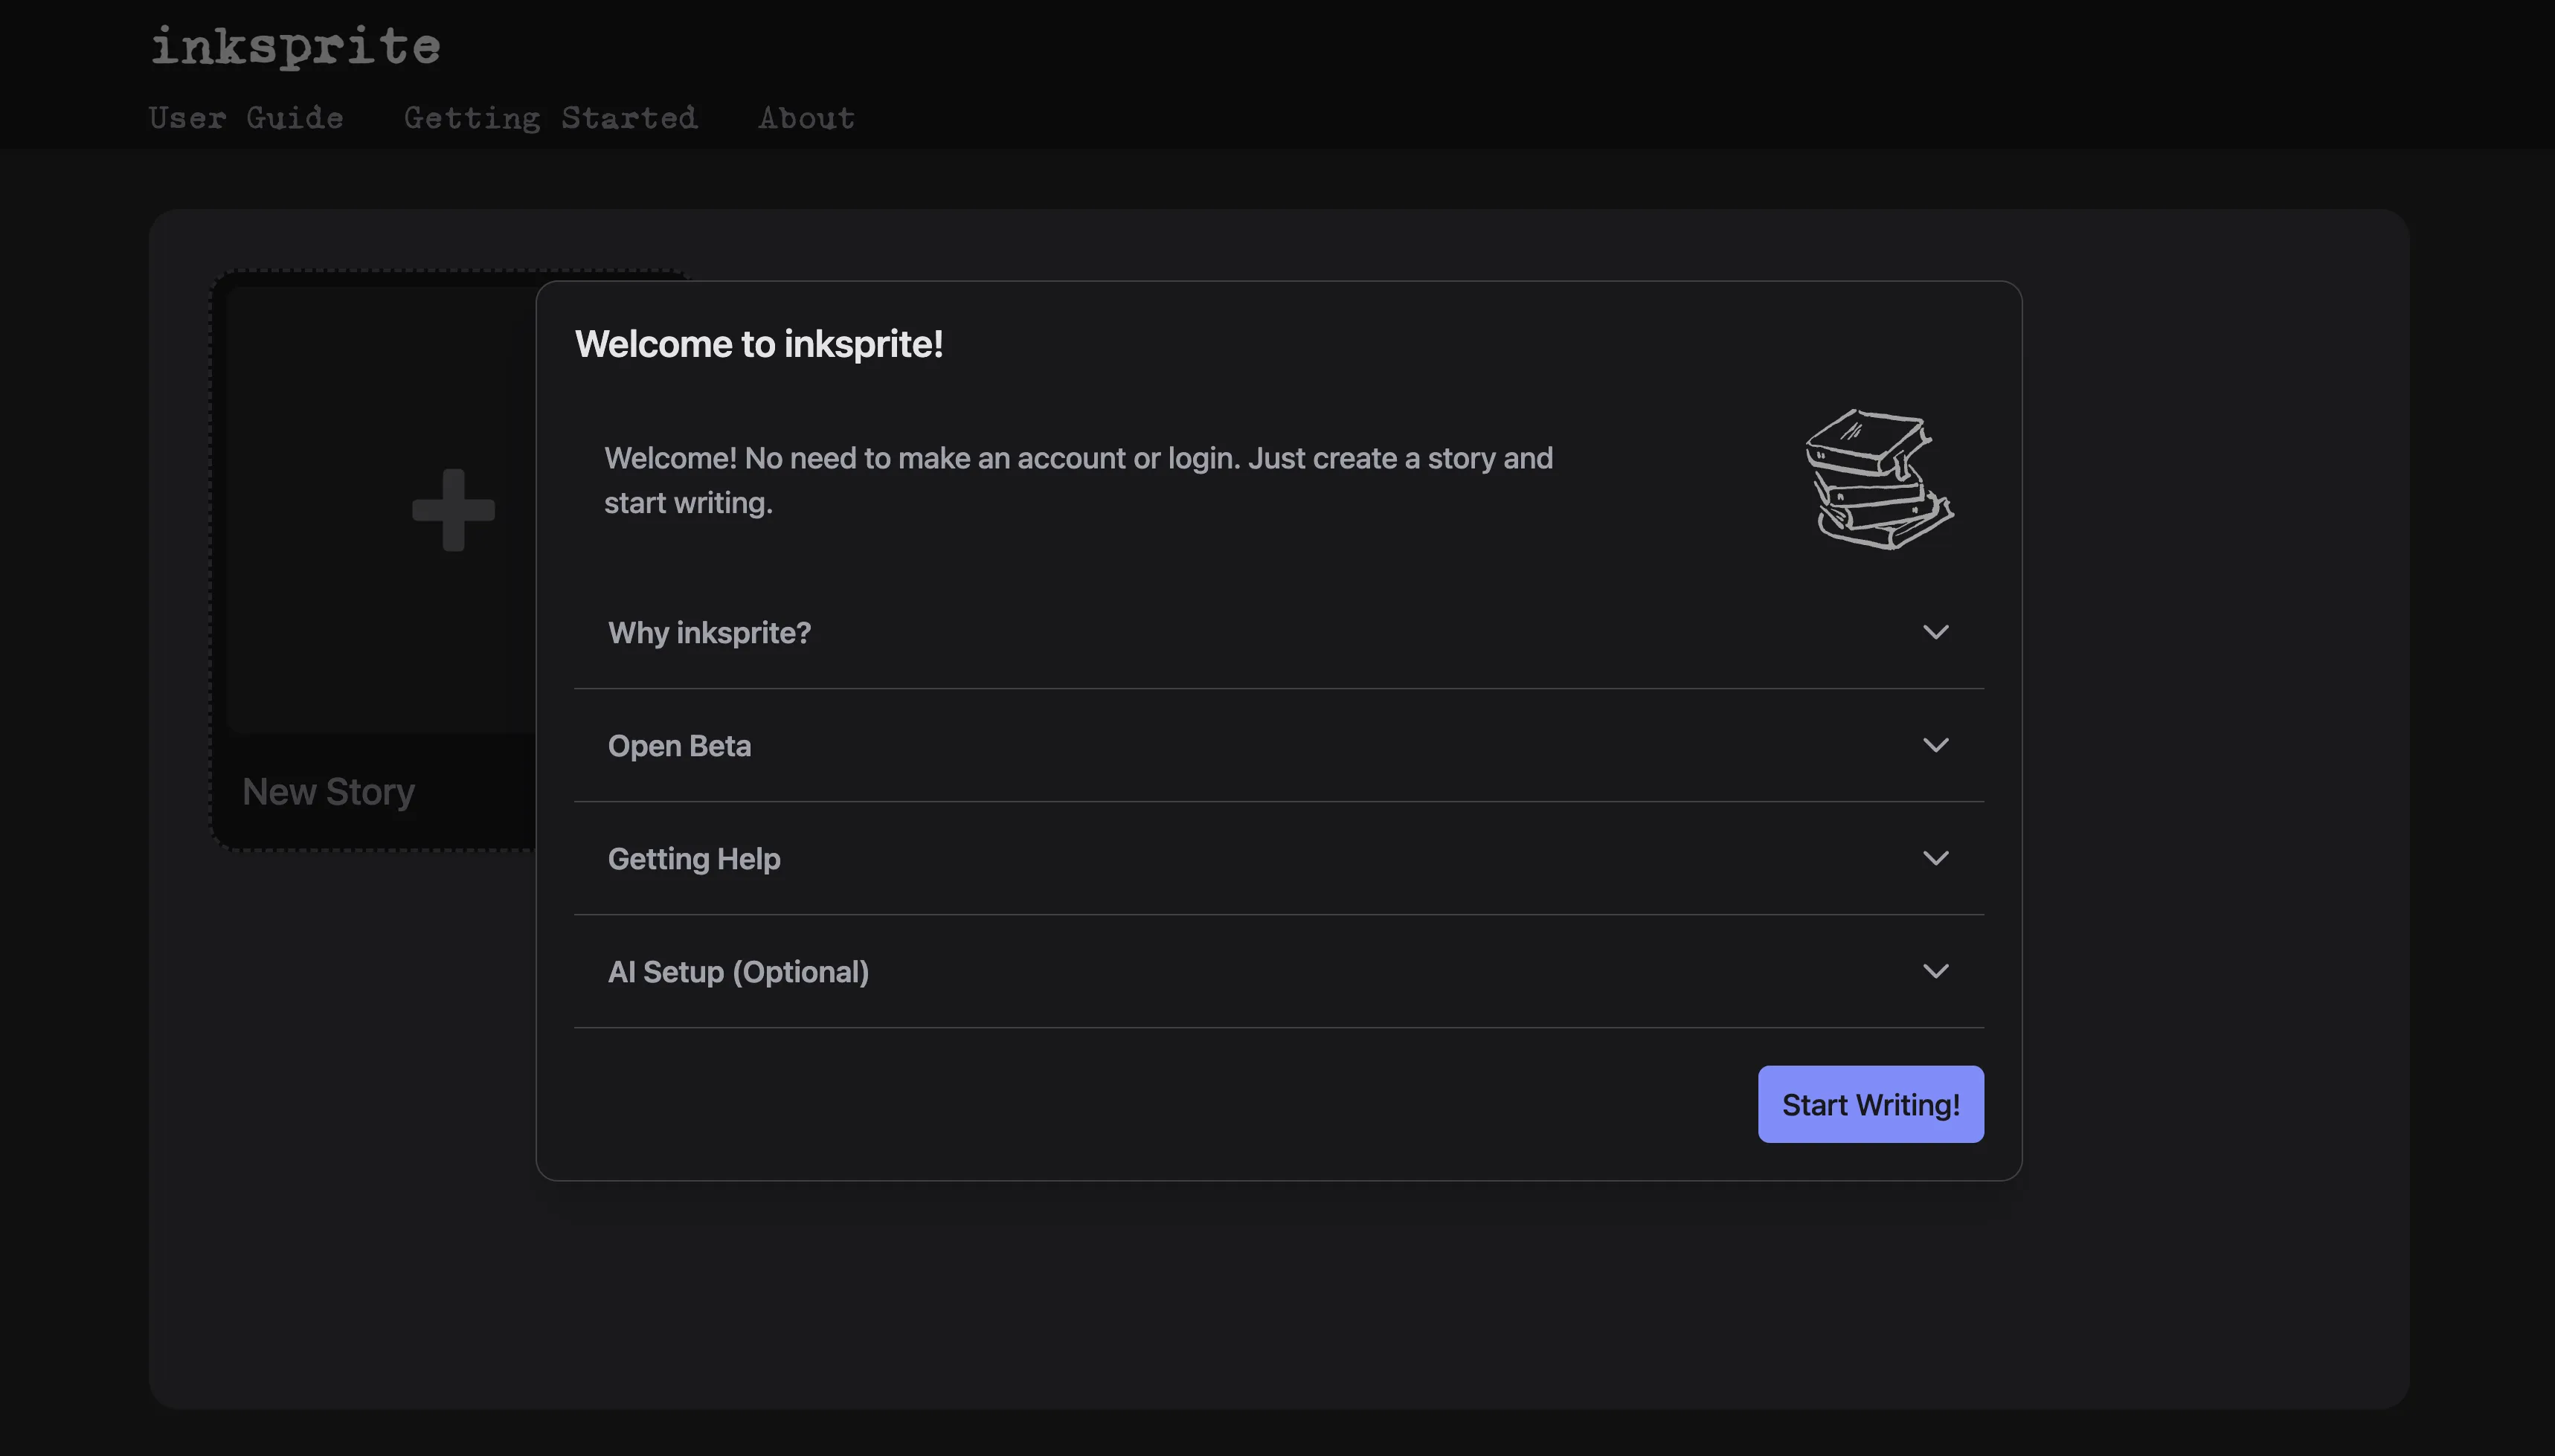
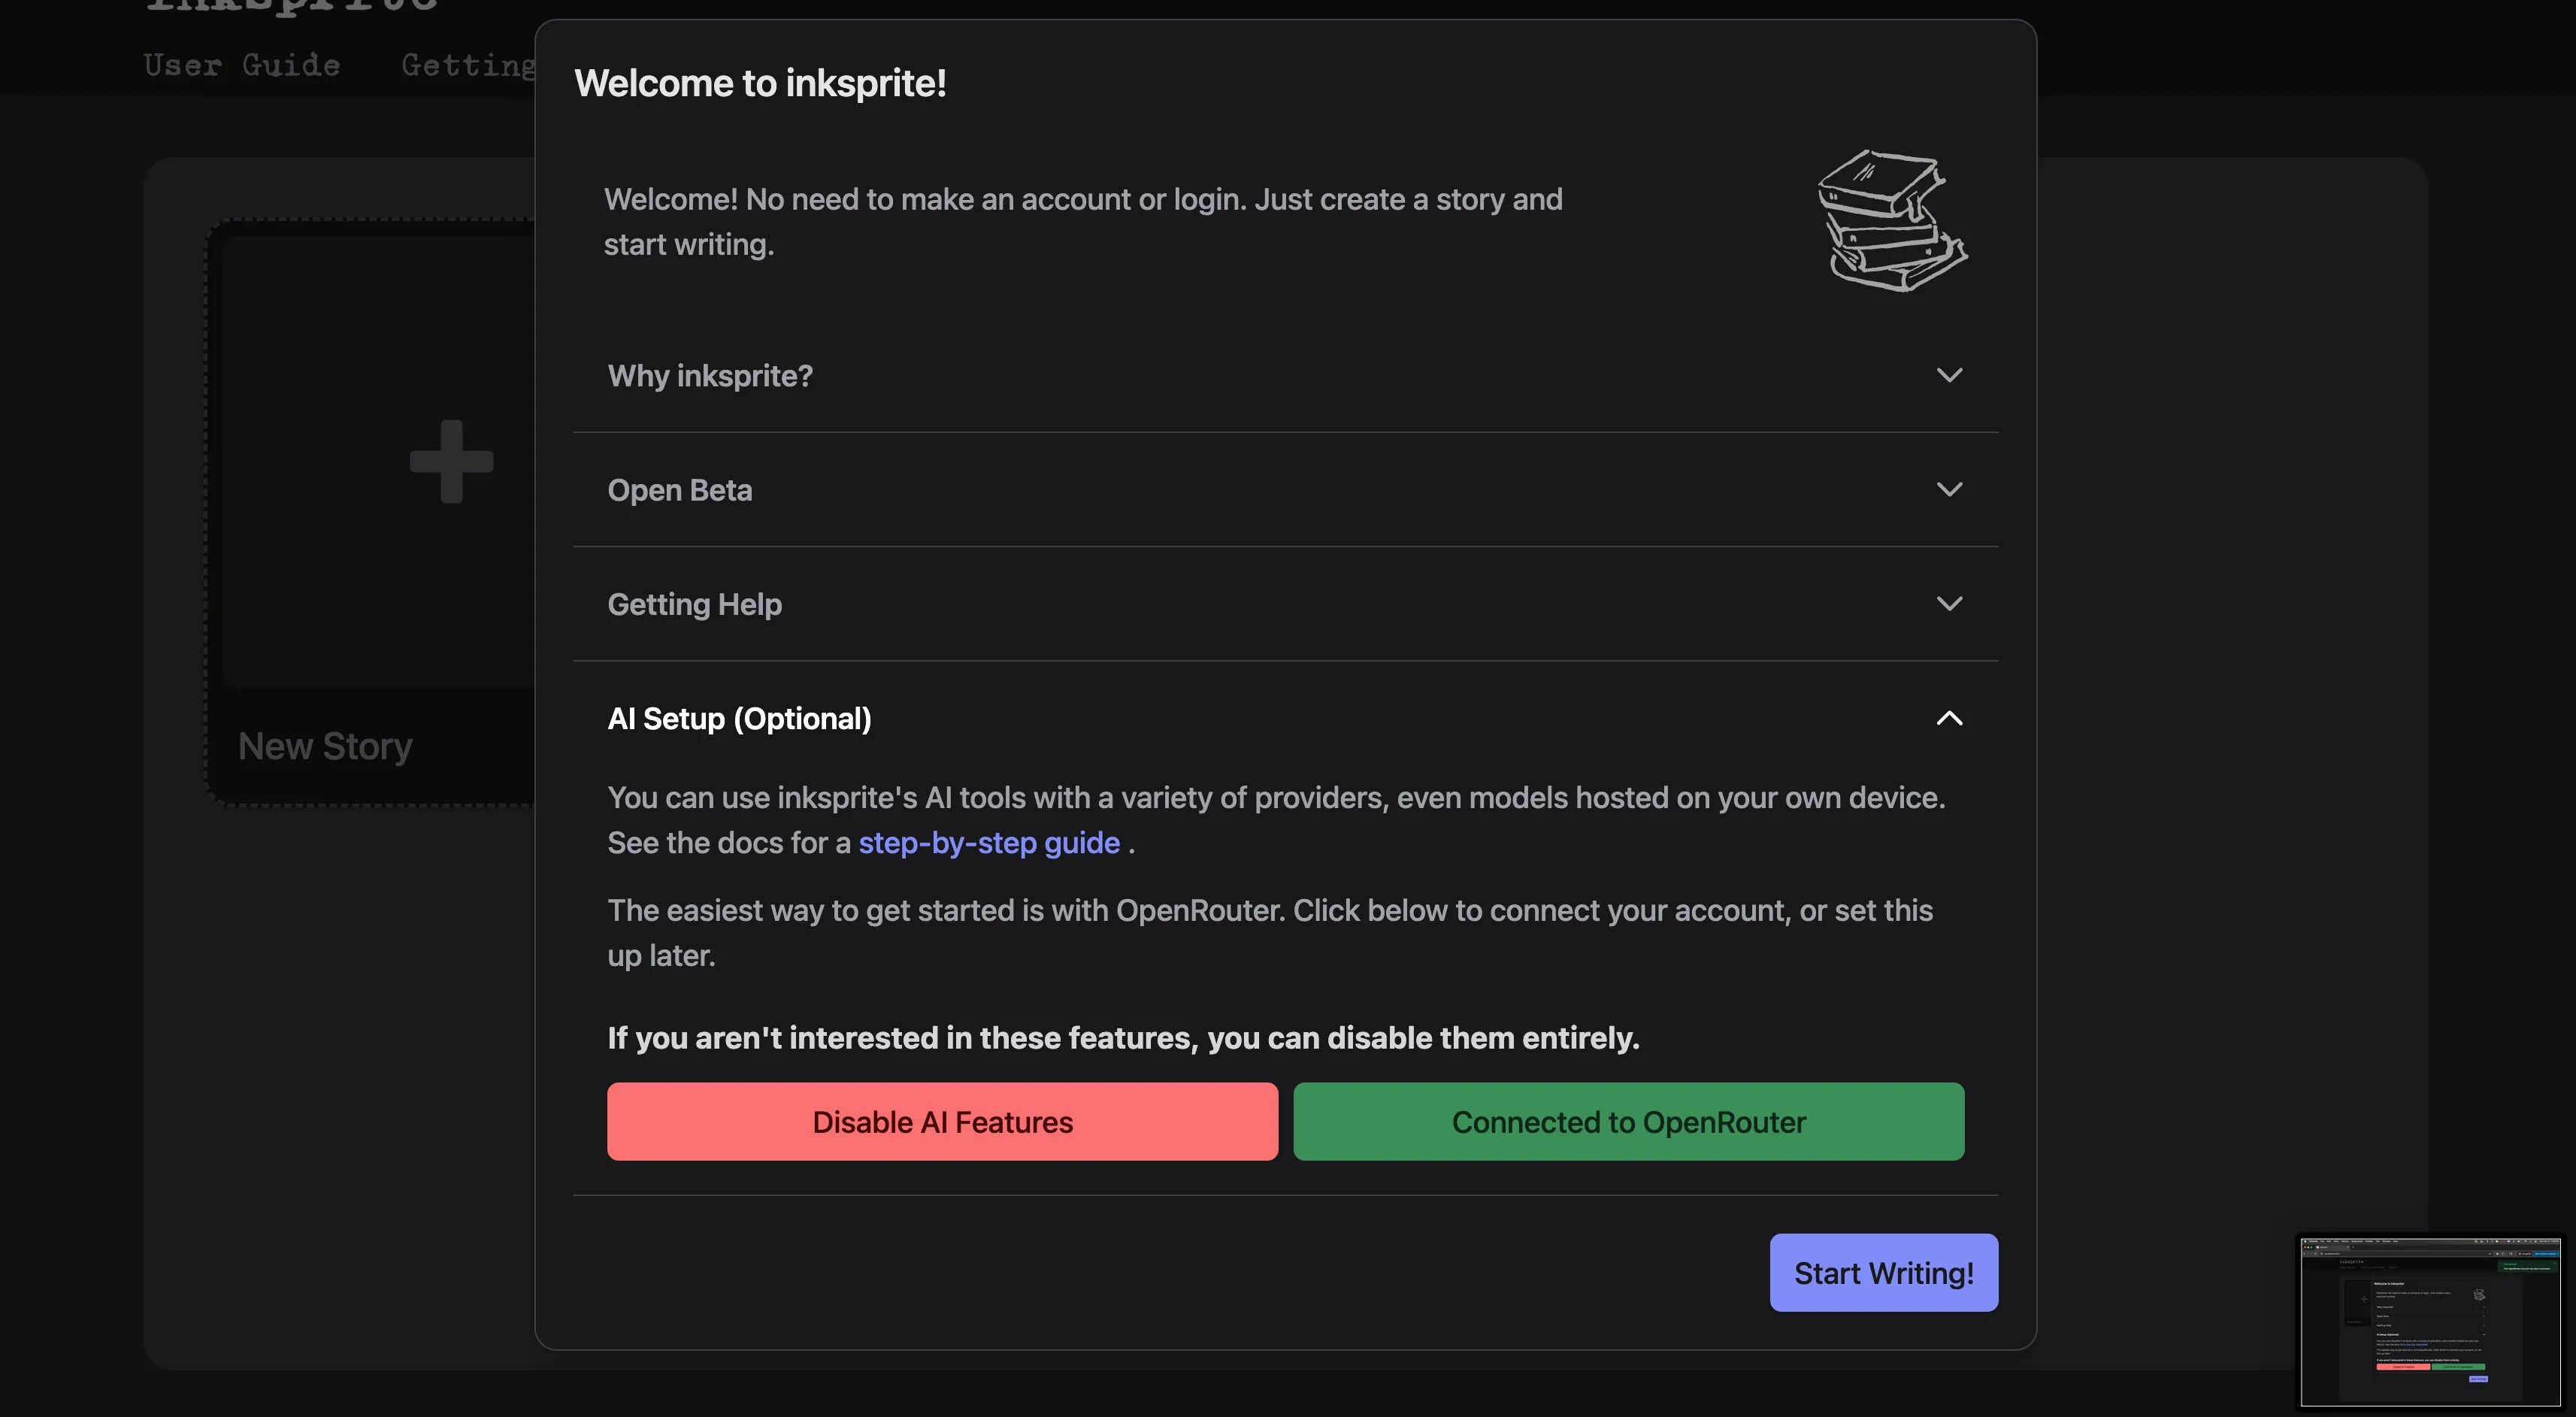
The first time you load the app, you’ll see a pop-up that links to these docs. There’s no setup required unless you want to use inksprite’s AI features.
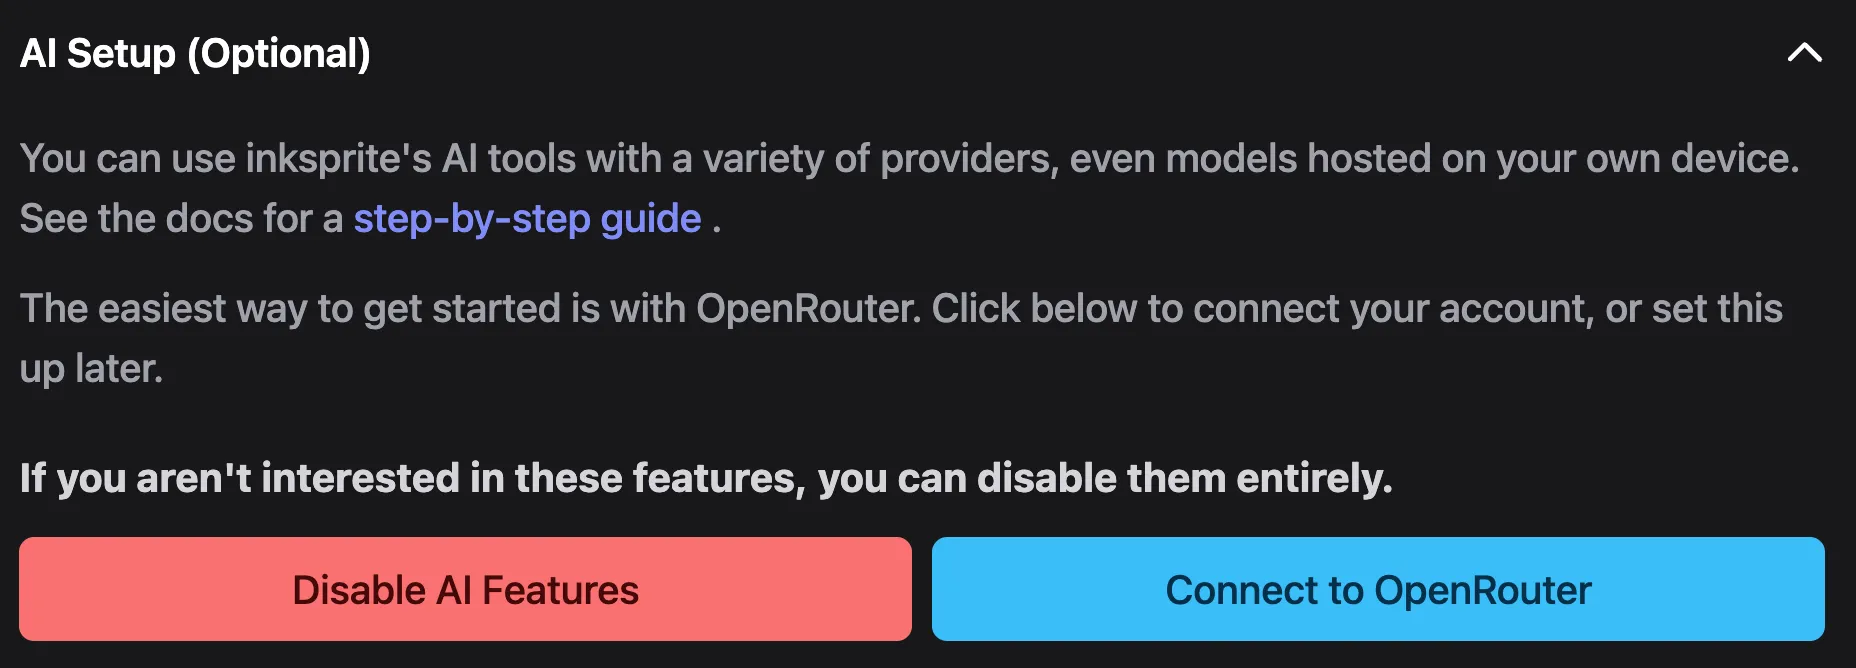
AI Setup
Section titled “AI Setup”If you are interested in using inksprite’s AI features, you can connect to OpenRouter now. Alternatively, you can set up a provider later in the Settings menu.
If you don’t want to use these tools, you can disable them entirely.
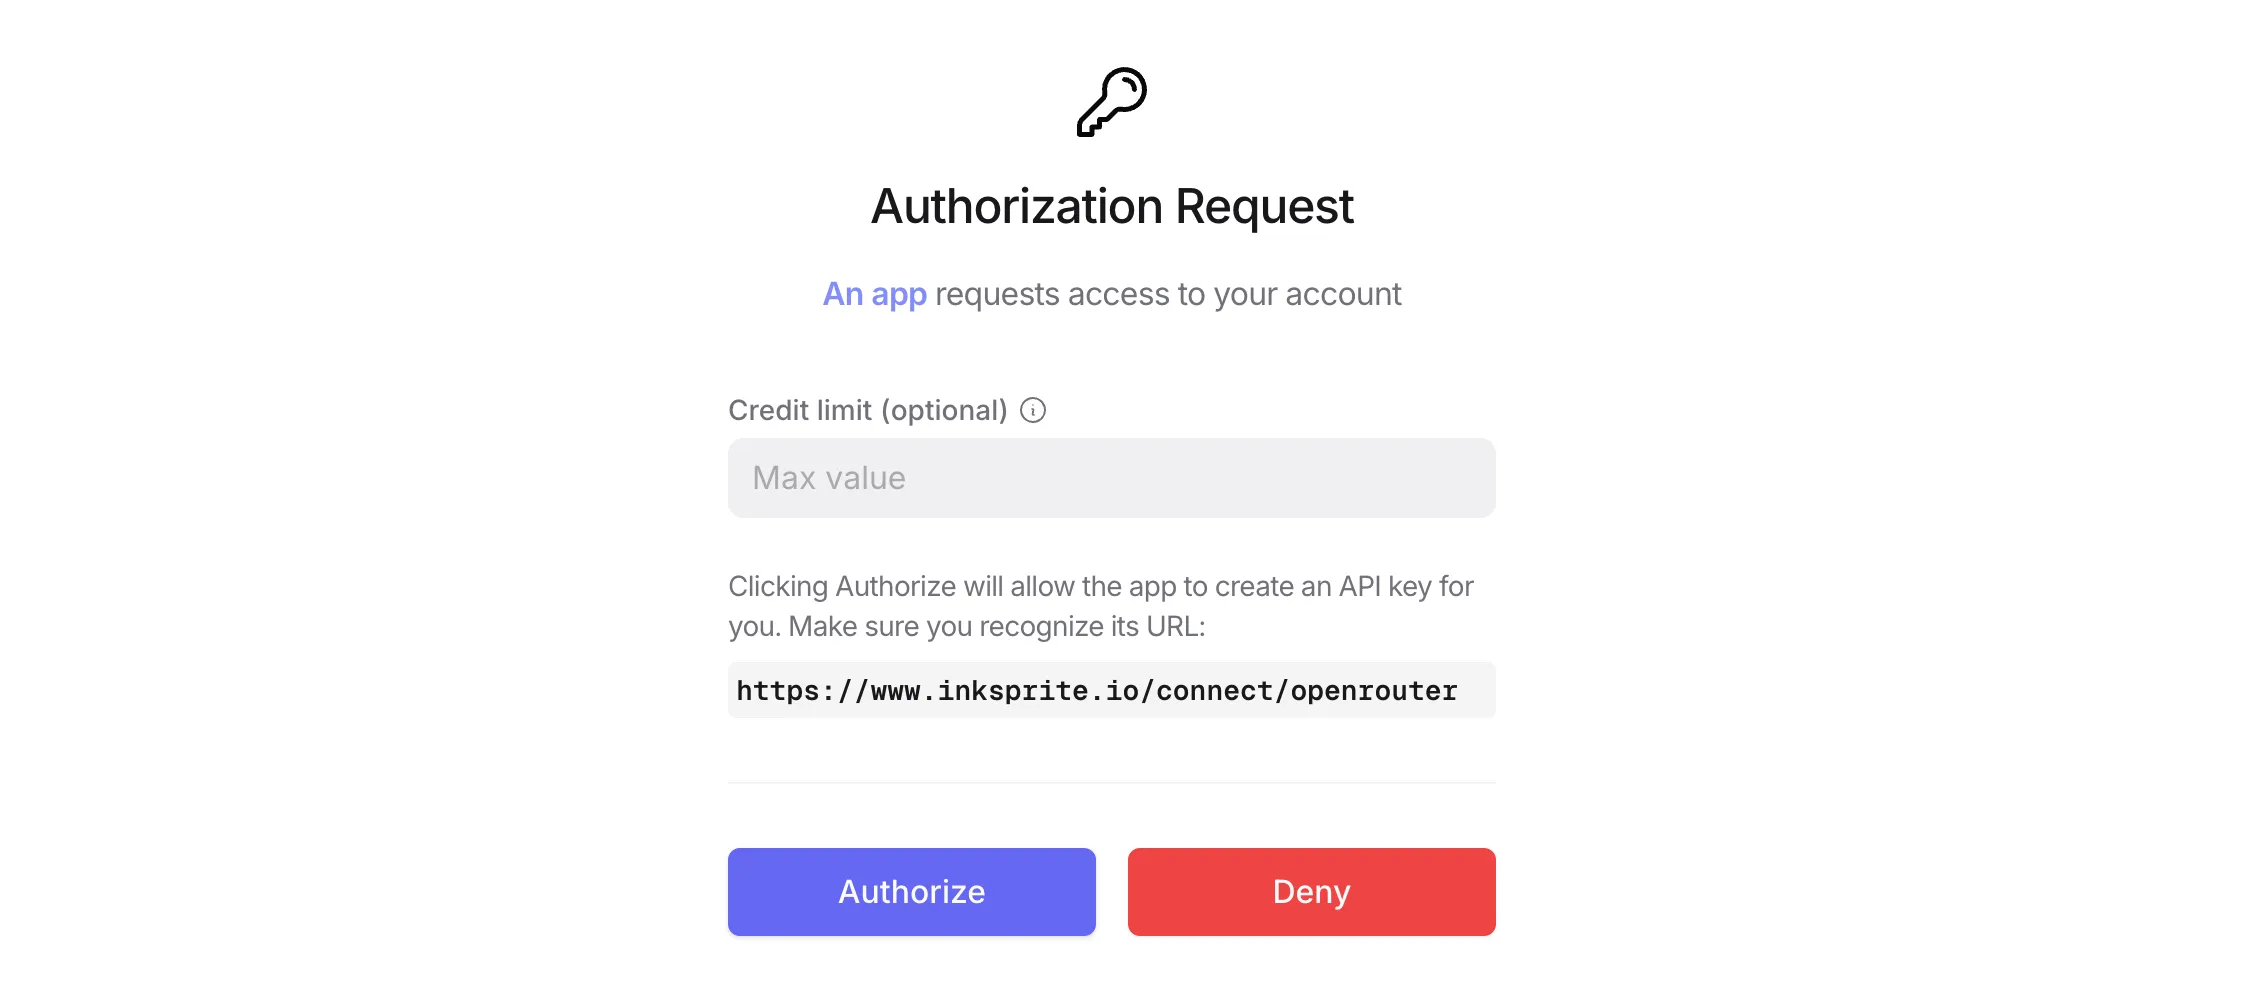
Connecting to OpenRouter
Section titled “Connecting to OpenRouter”-
Click “Connect to OpenRouter”
-
Login or create an OpenRouter account
-
Click “Authorize”
-
The tab will close once the connection completes
-
That’s it, you’re ready to write!
Creating your First Story
Section titled “Creating your First Story”The first page you’ll see when you open the app is the Bookshelf. This is where you’ll find your stories.
Pressing the aptly-named “New Story” button will create a new story. You can use the ellipsis menu in the top right of the story card to rename or delete a story. Select a story to open it in the editor.

The Editor
Section titled “The Editor”For the most part, the Editor does what it says on the tin. If you have used a word processor before, you won’t find many surprises here.
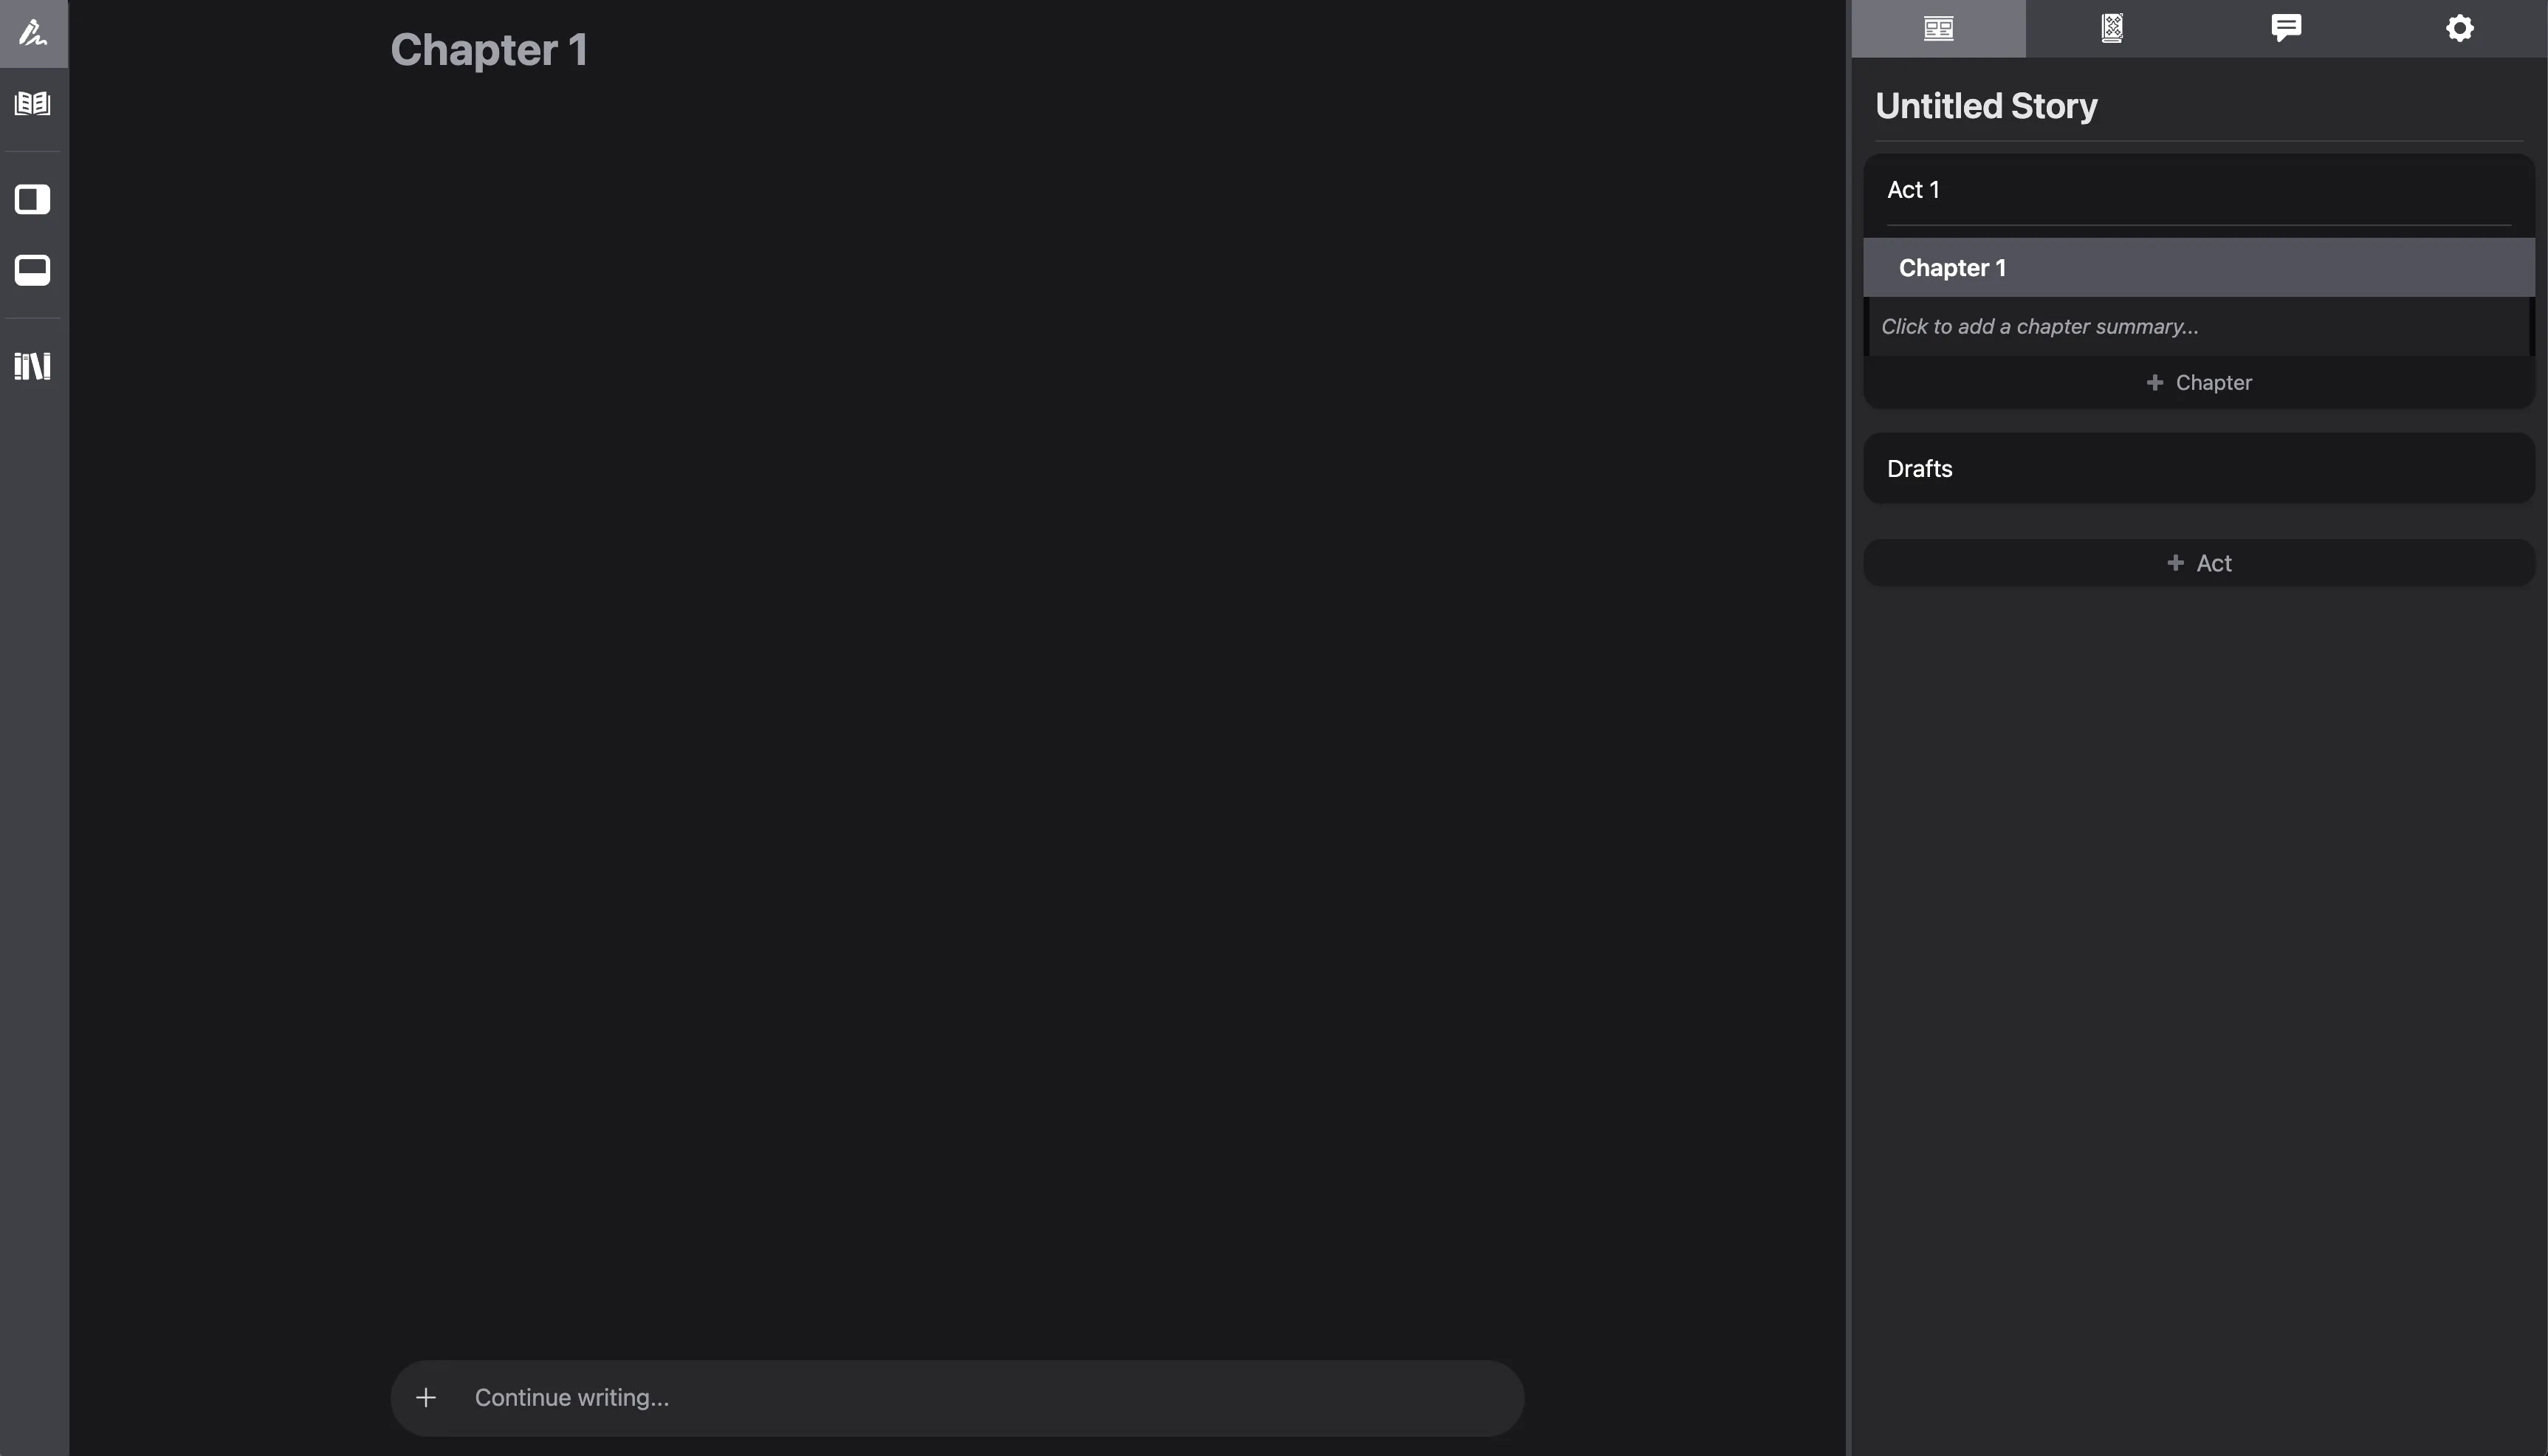
When you open a newly created story, the first chapter will open in the editor. The Story Outline section below covers story organization in more detail.
Autosave
Section titled “Autosave”Your work is autosaved as you write, though you should note that inksprite is not a cloud service. Your work is saved locally in your browser’s storage.
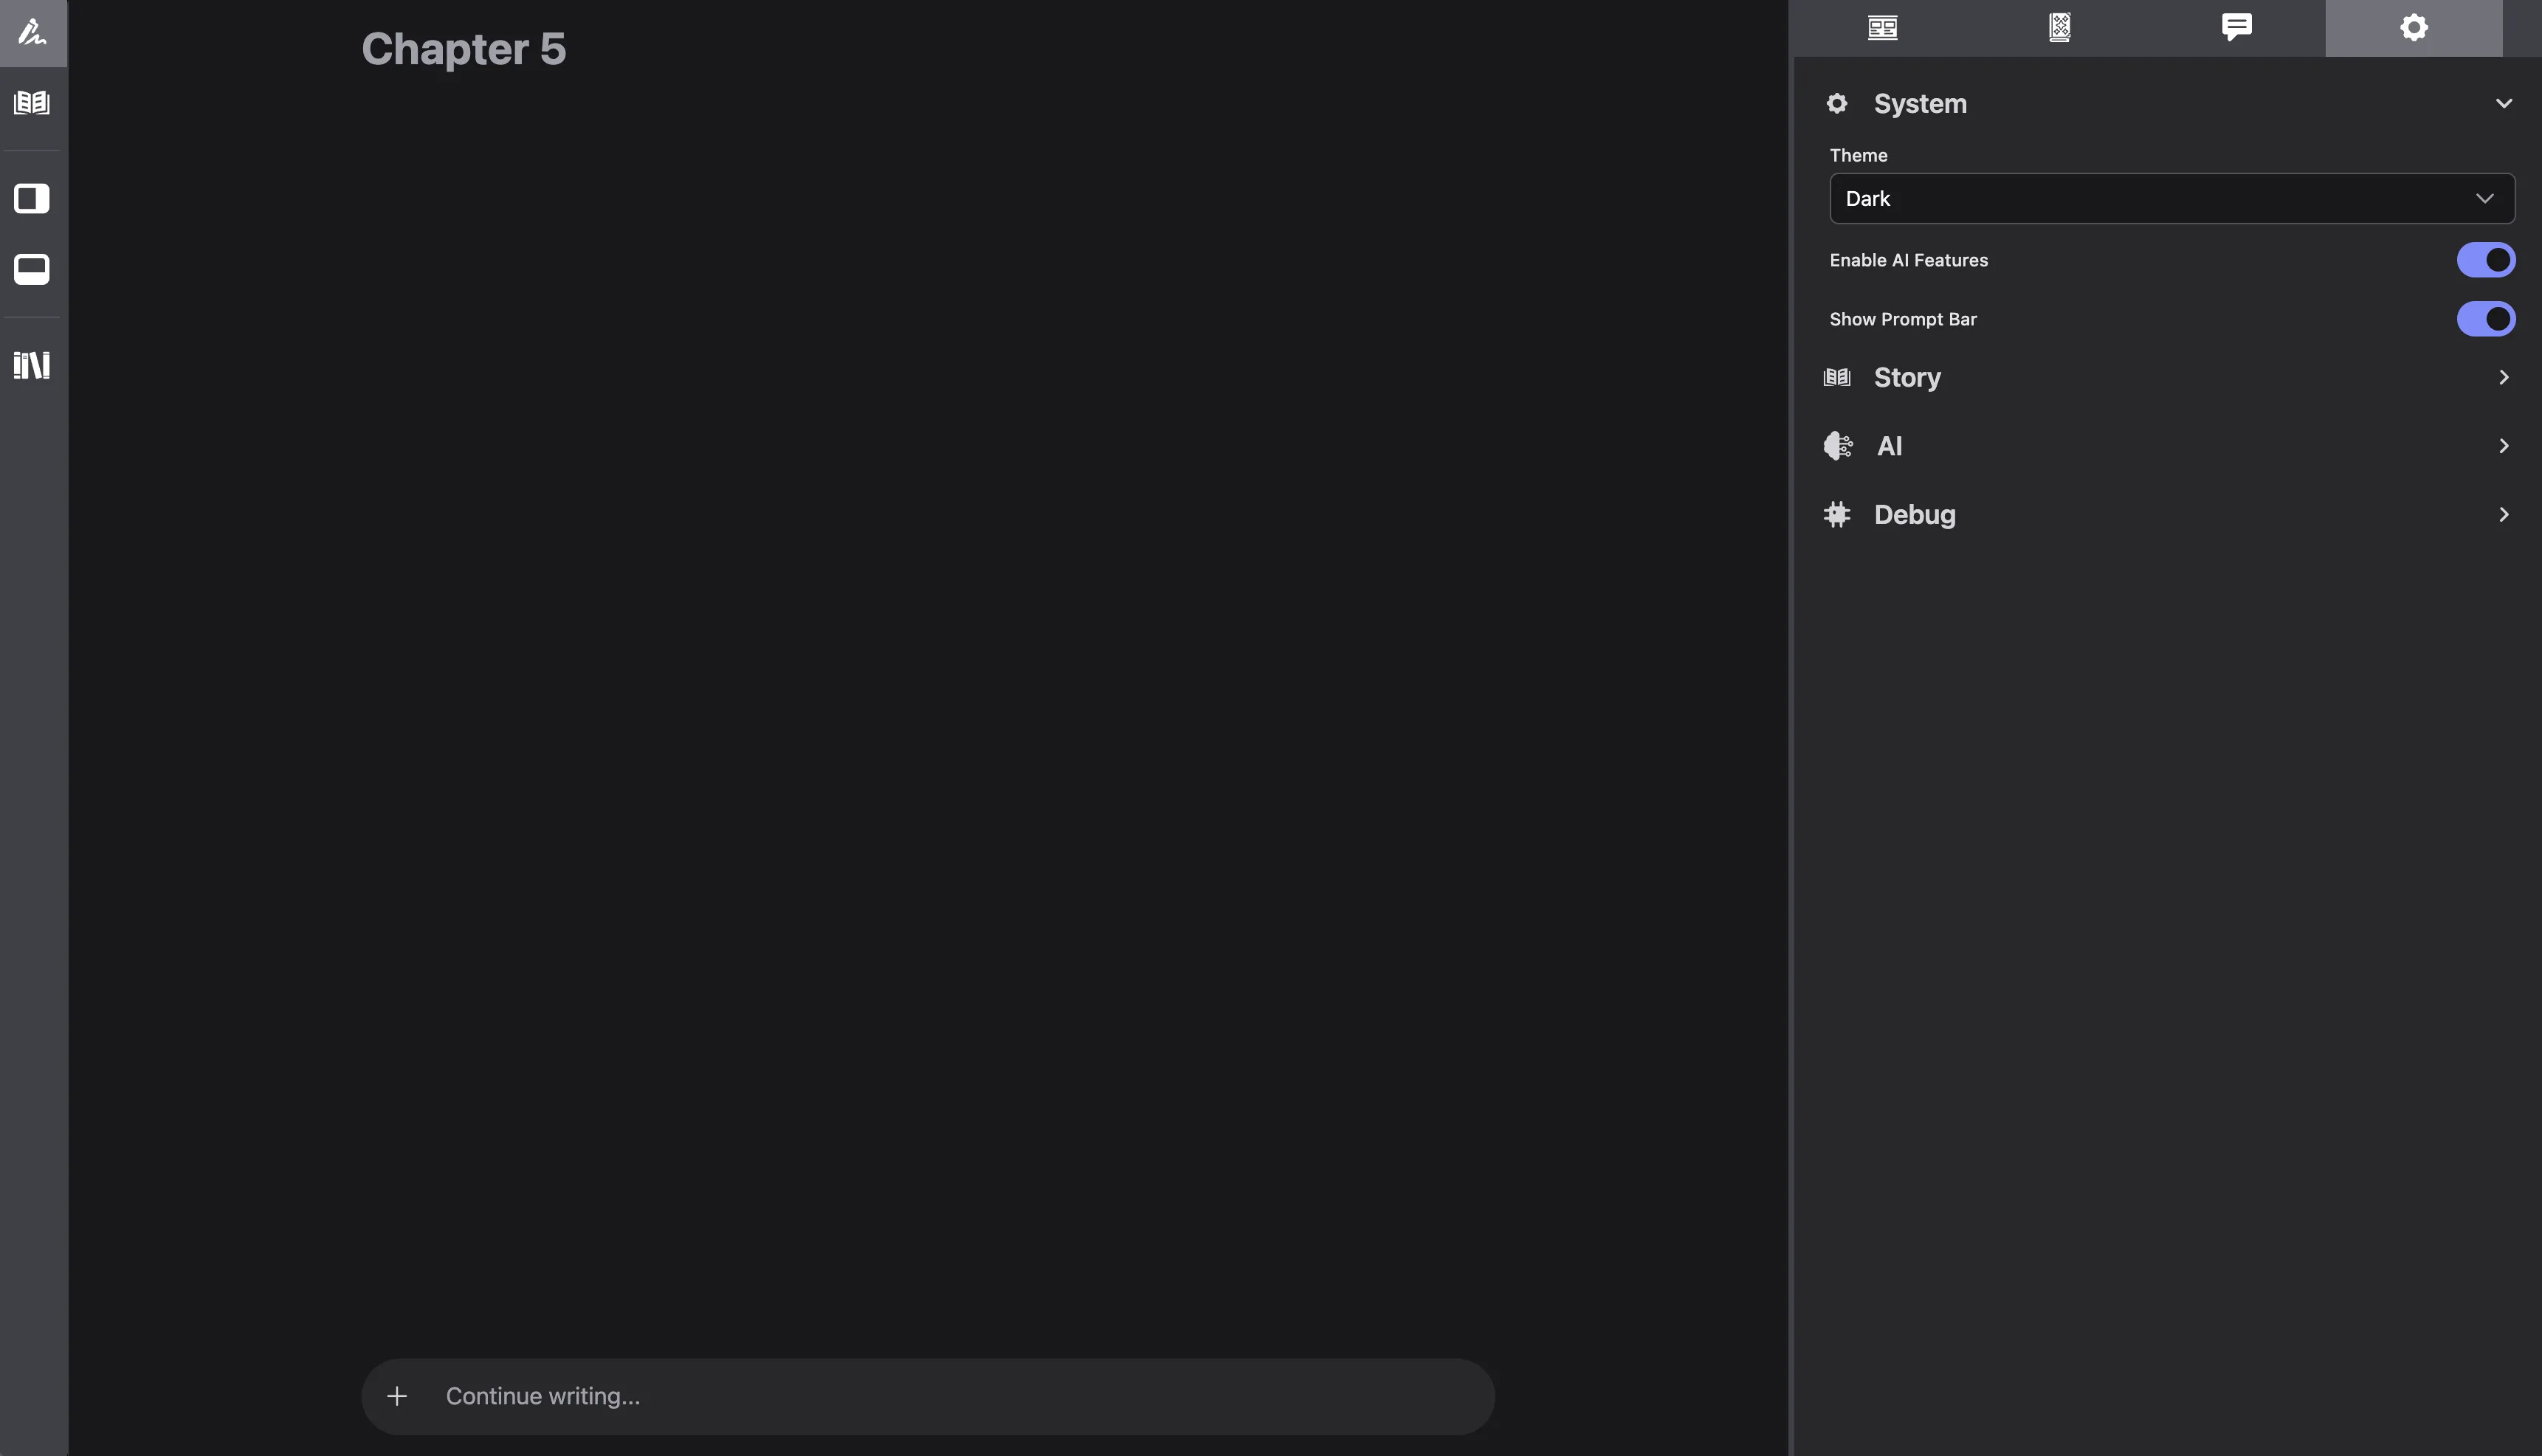
Co-Writing with the AI
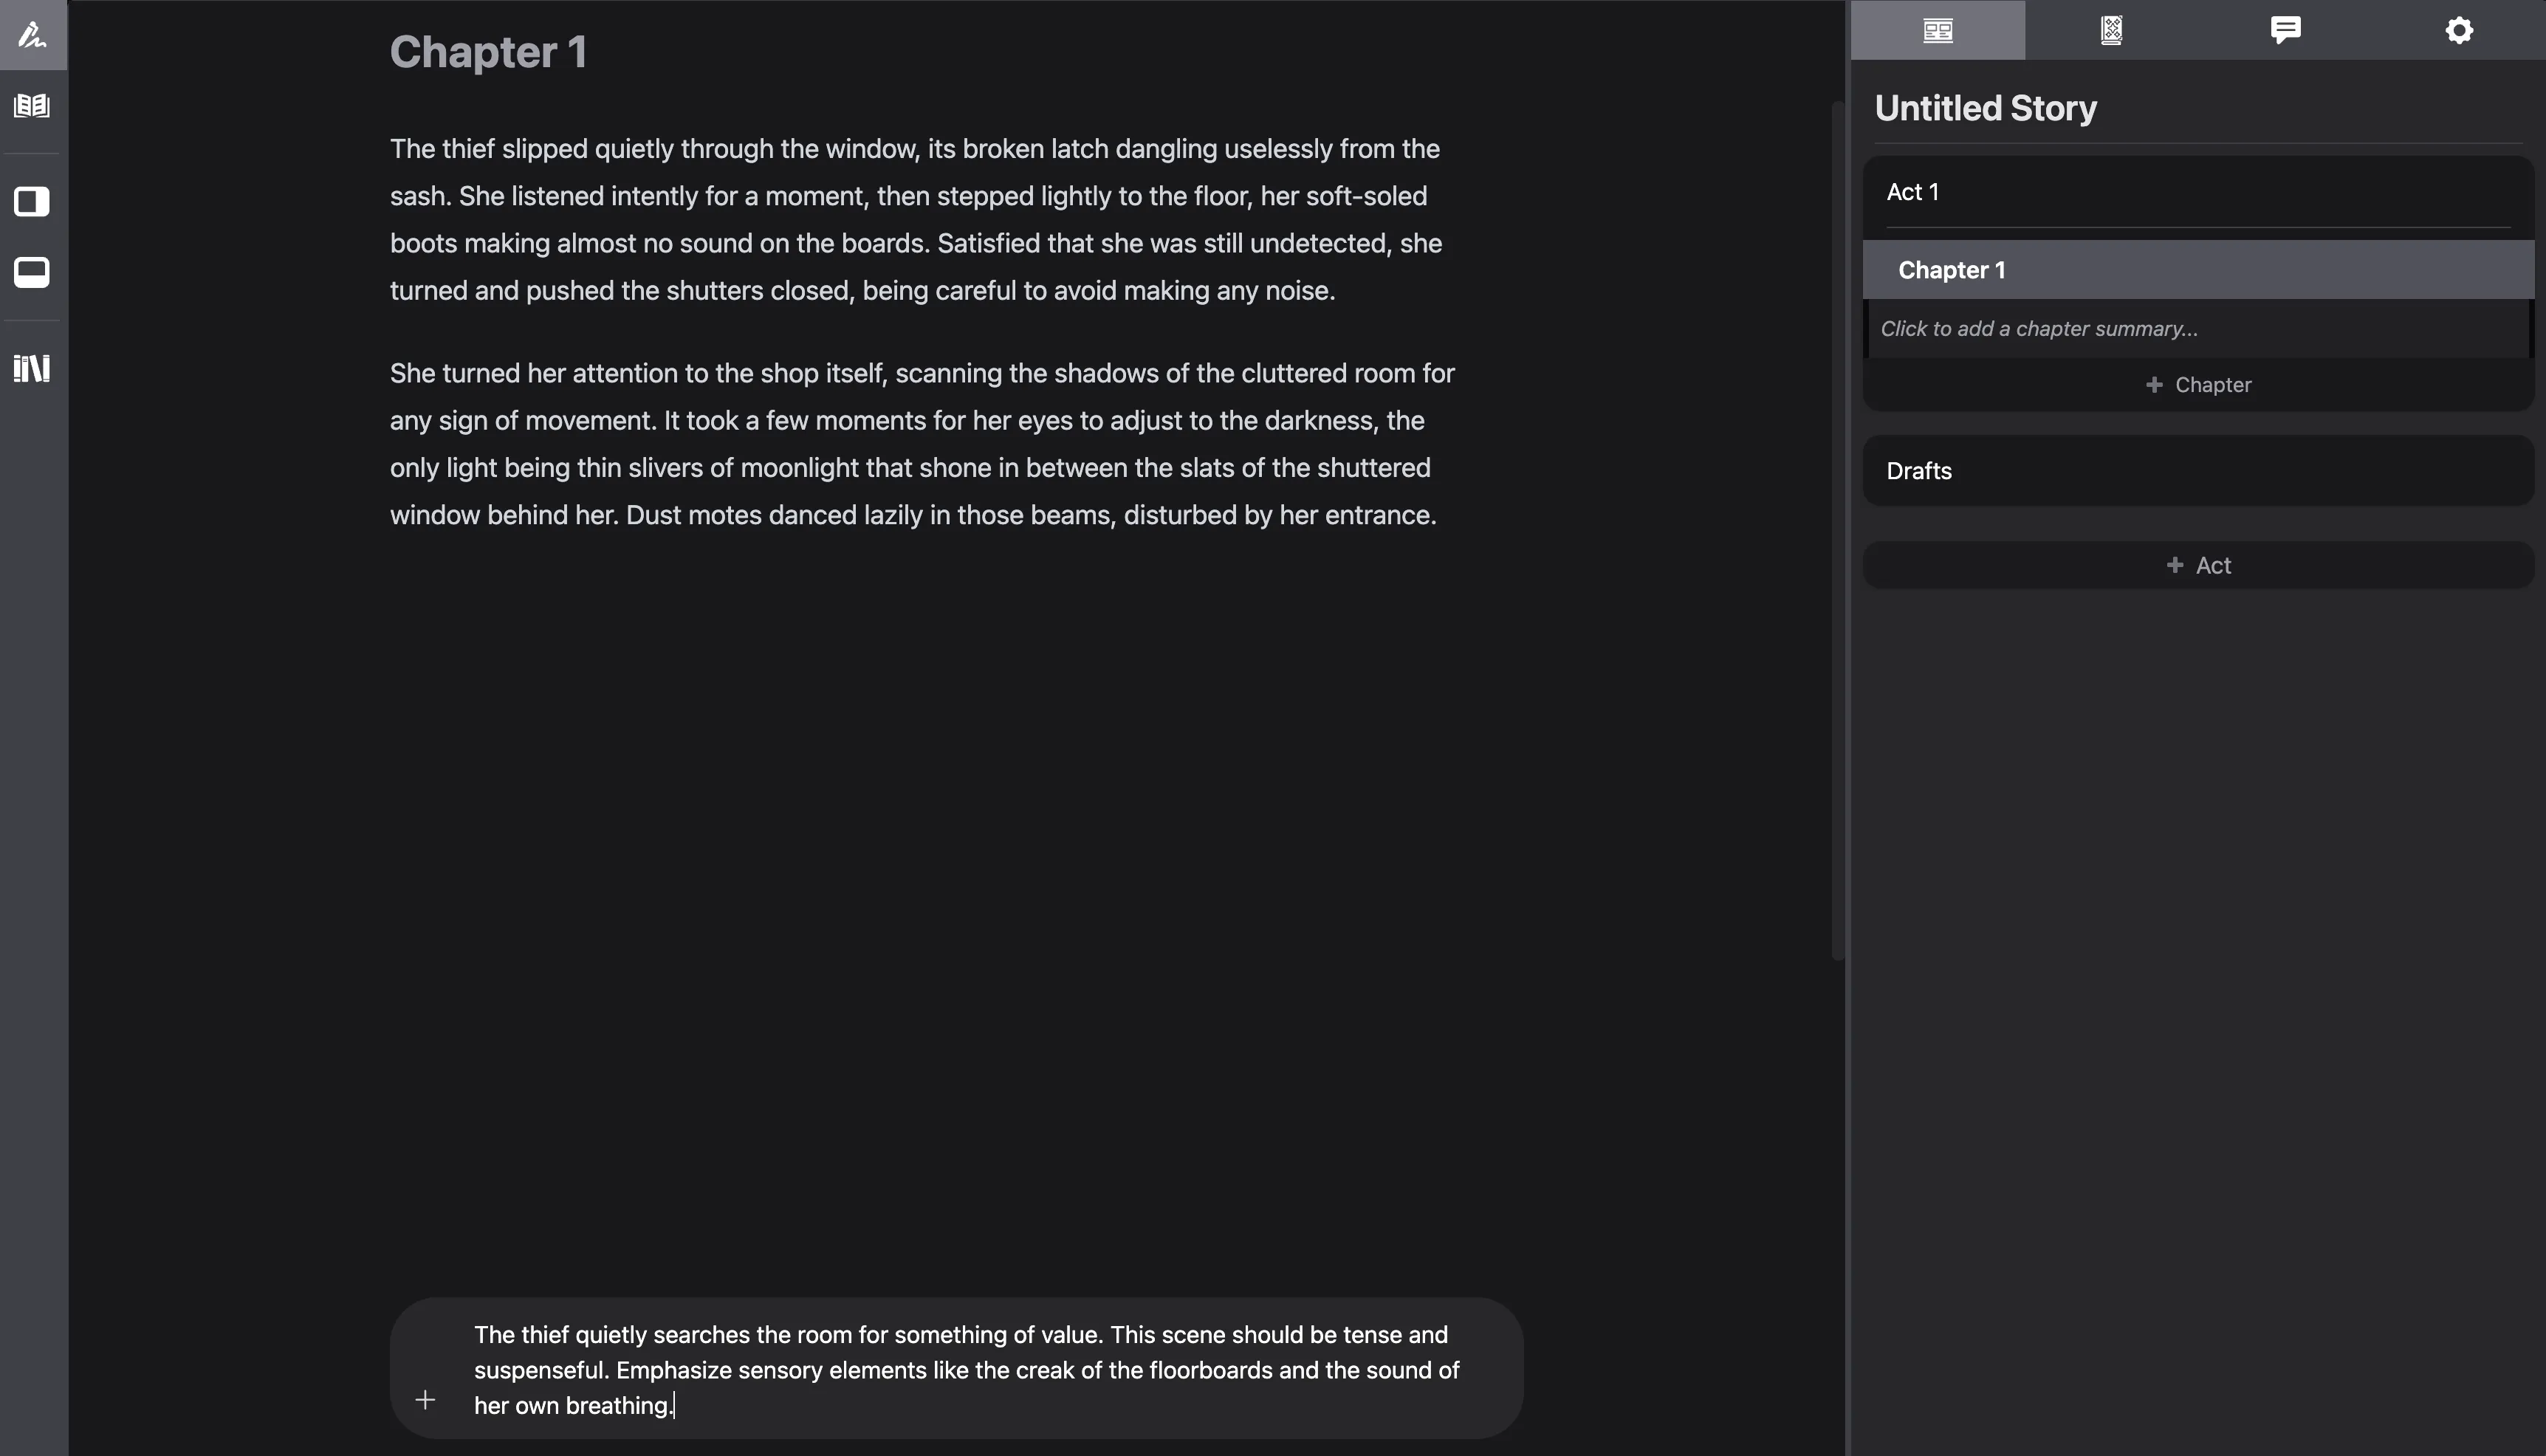
Section titled “Co-Writing with the AI”If you have AI features enabled, you’ll see a prompt bar at the bottom of the screen. Typing a prompt here and hitting enter will send a request to the AI, instructing it to continue writing from the end of the chapter.
This is a good place to put a scene beat or authors note, but adding a custom prompt is optional. If left blank, the default prompt will look something like “continue the story from where it left off”.
See the AI Co-Writing section for more details.
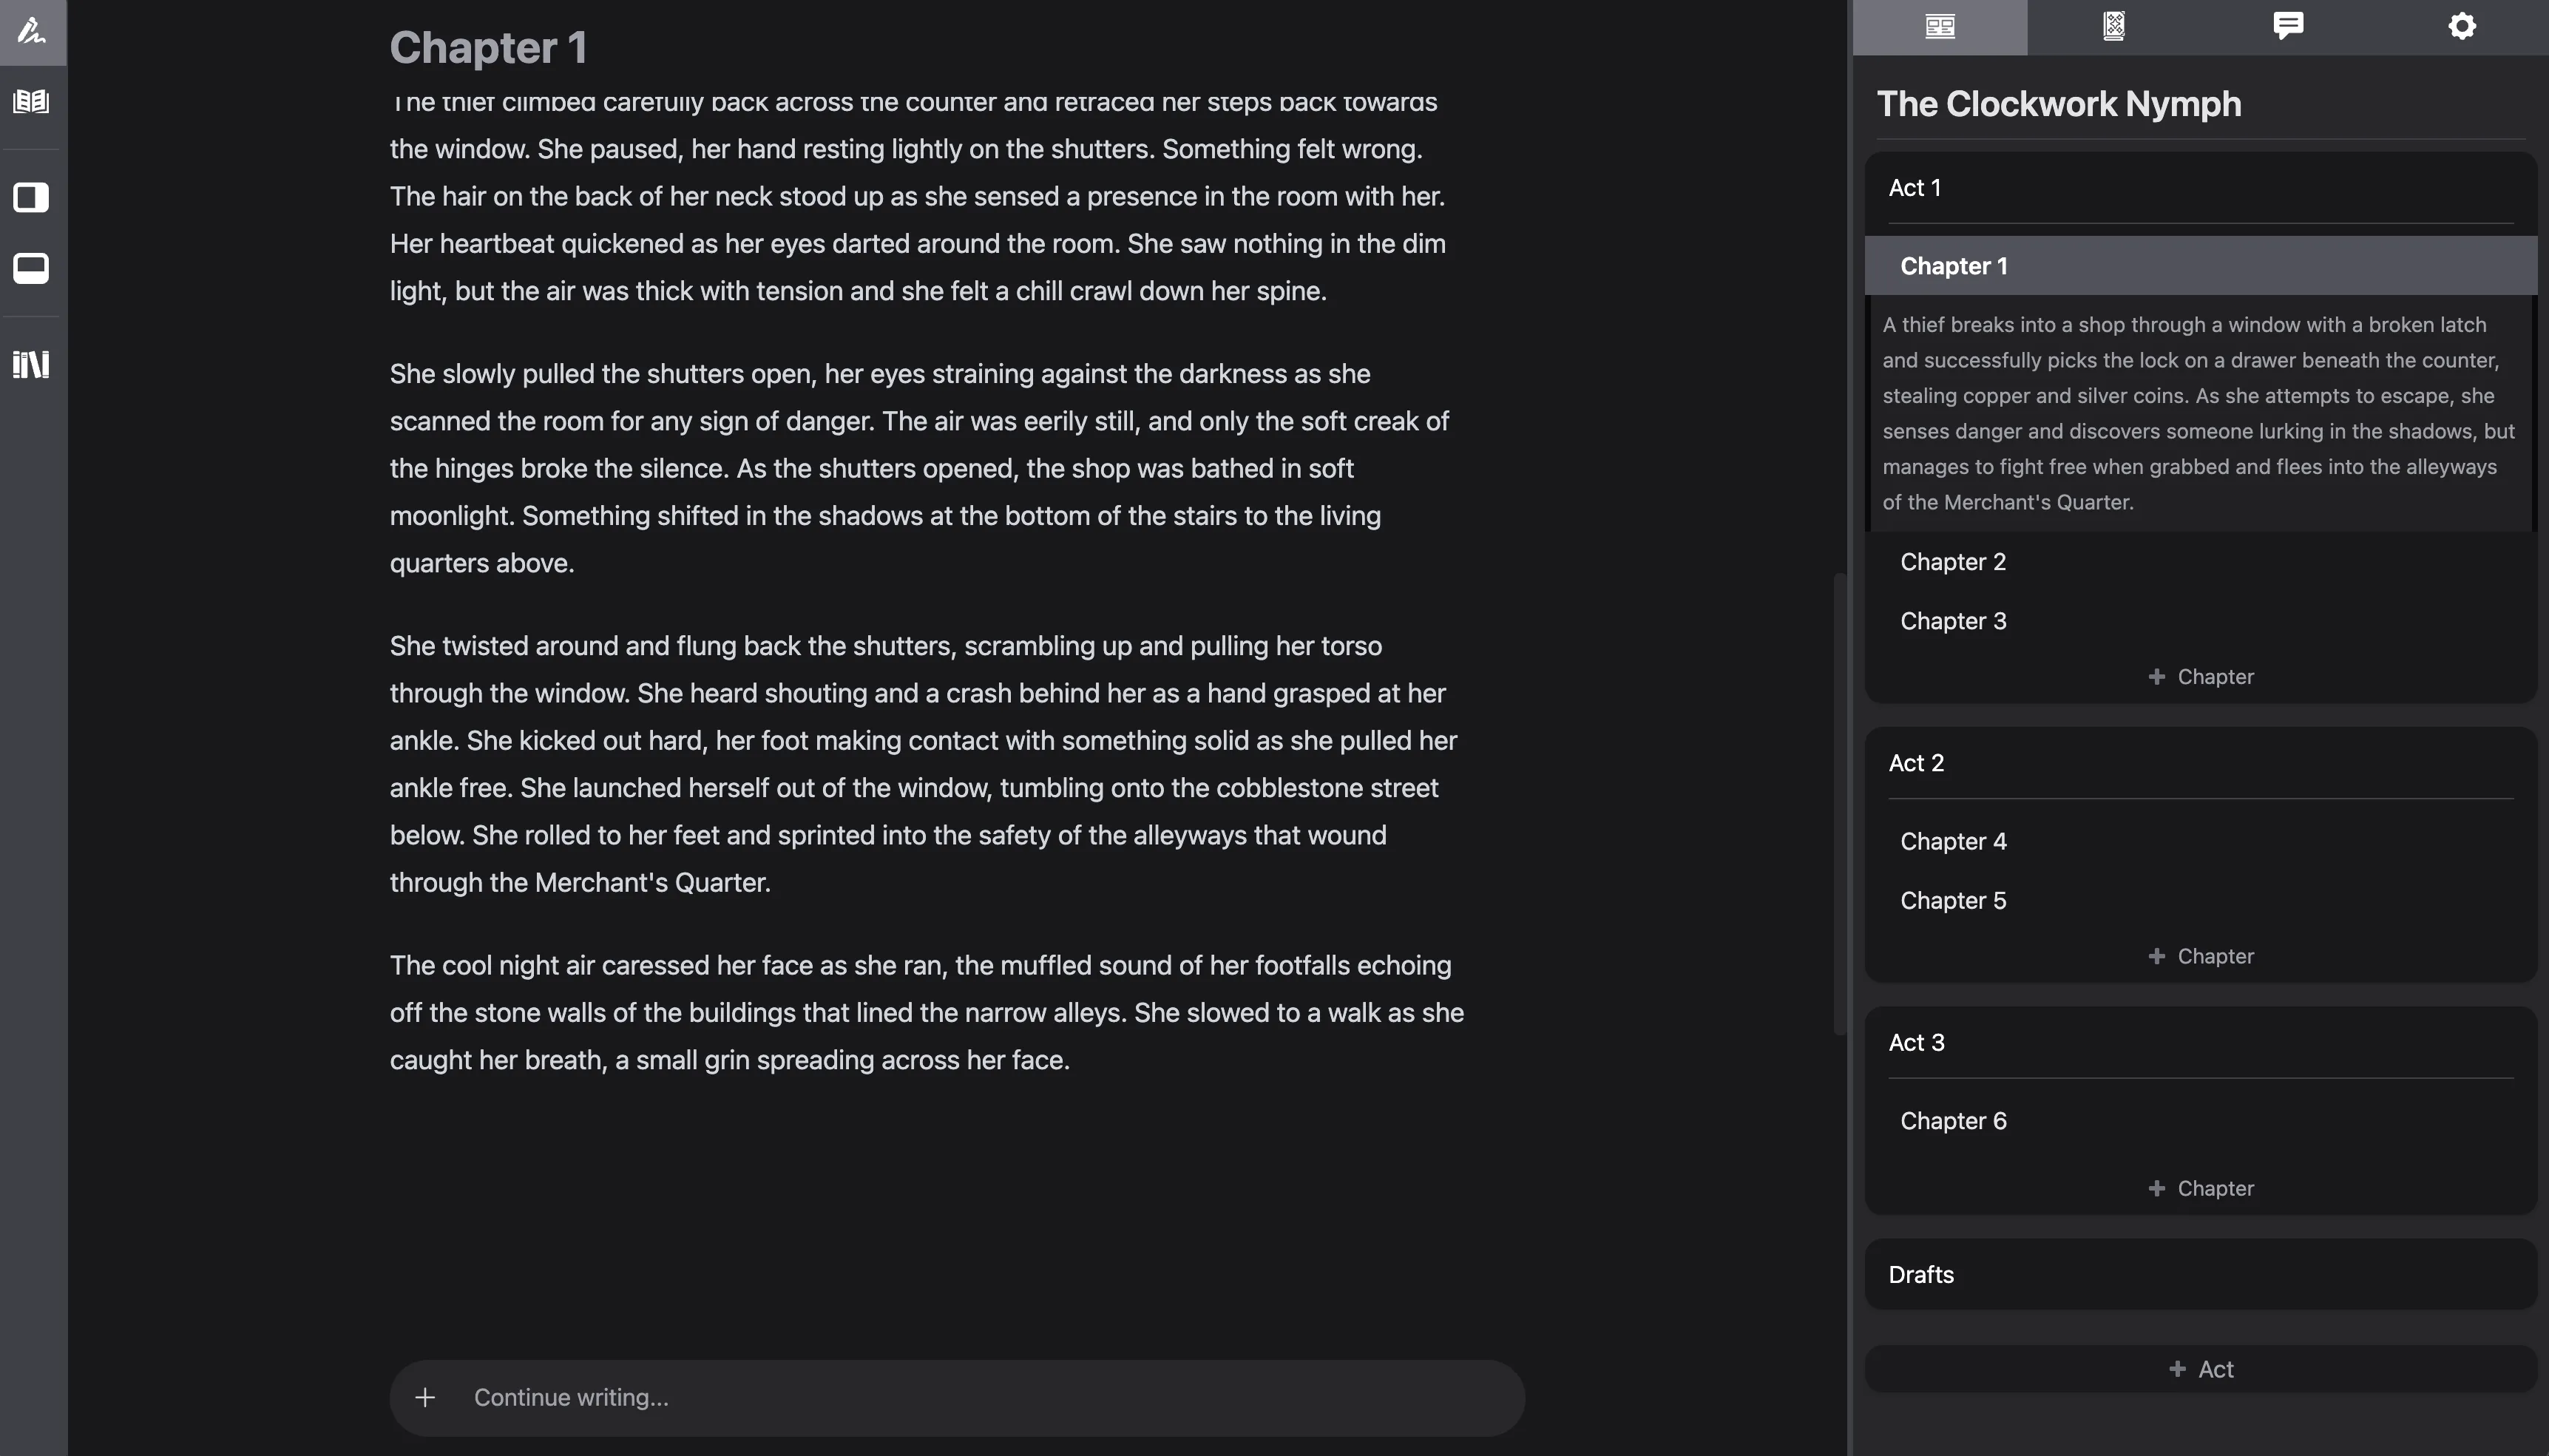
Story Outline
Section titled “Story Outline”The Story Outline is the first tab in the right sidebar. This is where you will organize and plan your story. You can edit the title fo your story by clicking on it.
Stories are organized into “Acts” and “Chapters”, which can be rearranged by dragging and dropping in the outline.
You can also write Story, Act, and Chapter summaries. Chapter summaries can be viewed and edited directly in the outline. Story and Act summaries are accessible via their respective menus.
Use the “Open Chapter” button to open a Chapter in the editor.
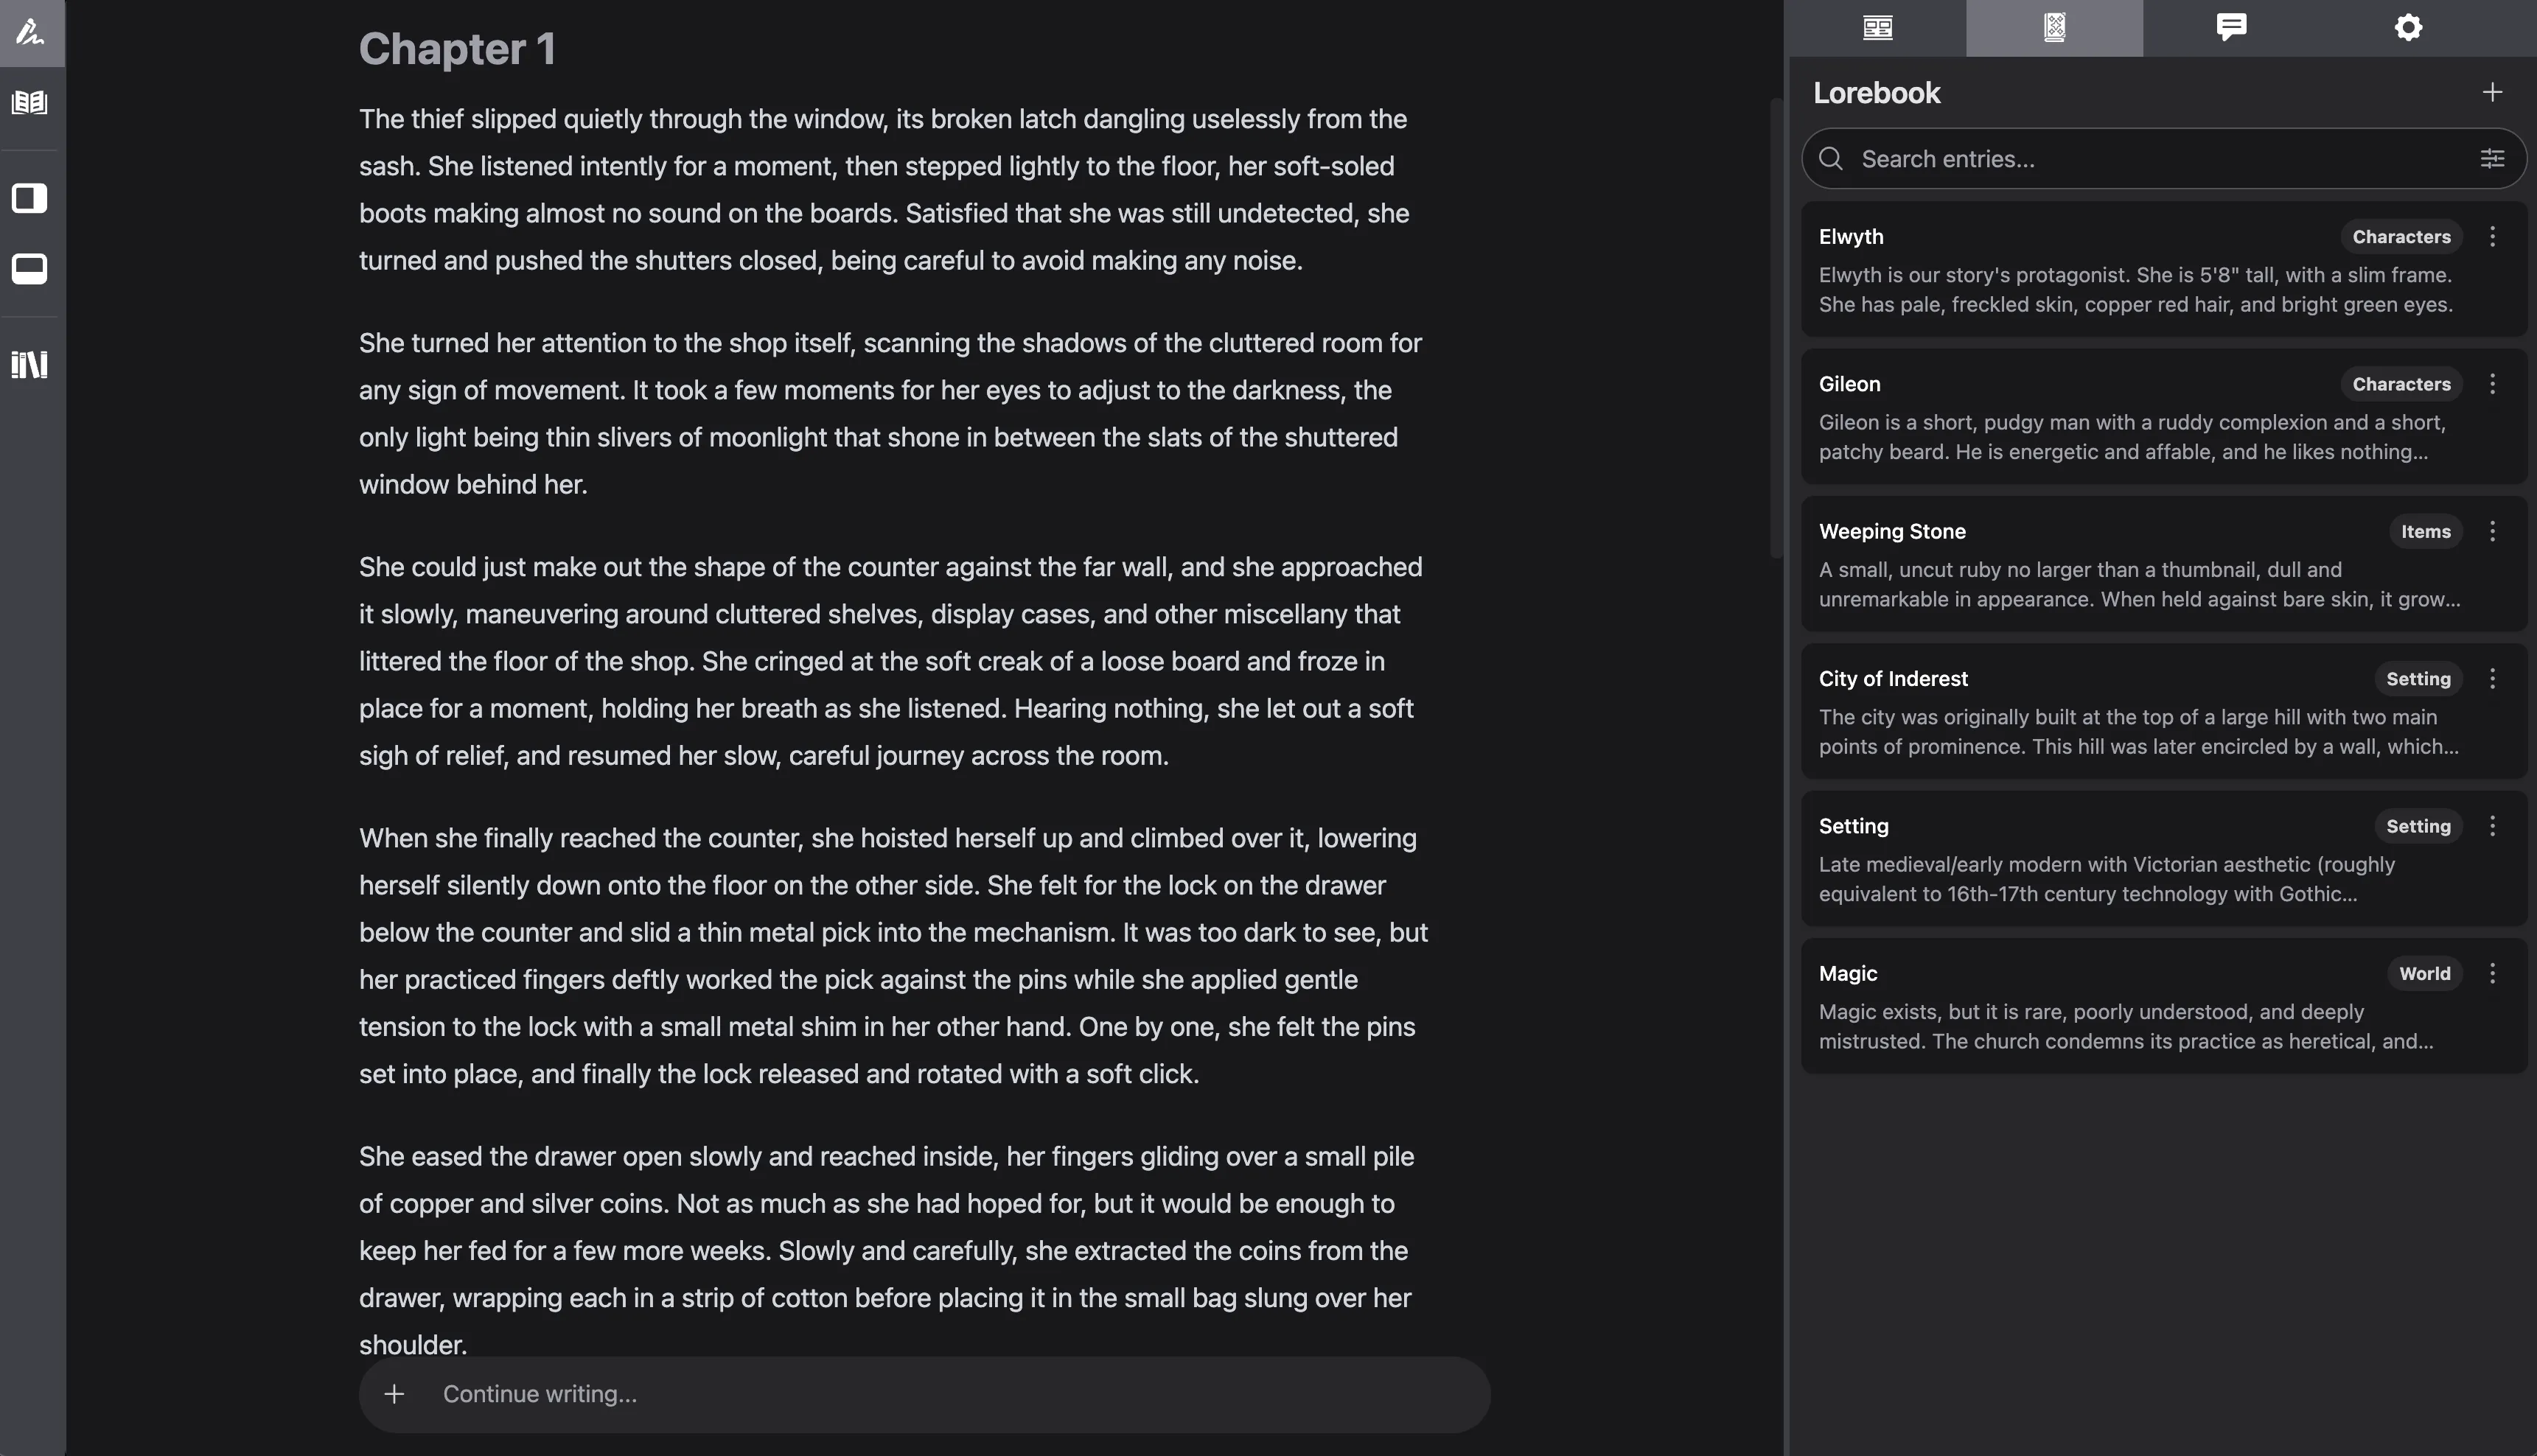
Lorebook
Section titled “Lorebook”The Lorebook allows you to define characters, setting details, and other information relevant to your story. Each entry consists of a name, category, and a description.
In its current state, the Lorebook is fairly simple and lacks some of the features you might be used to from other tools. For example, we don’t support tags or activations keys yet, but these features will be added soon.
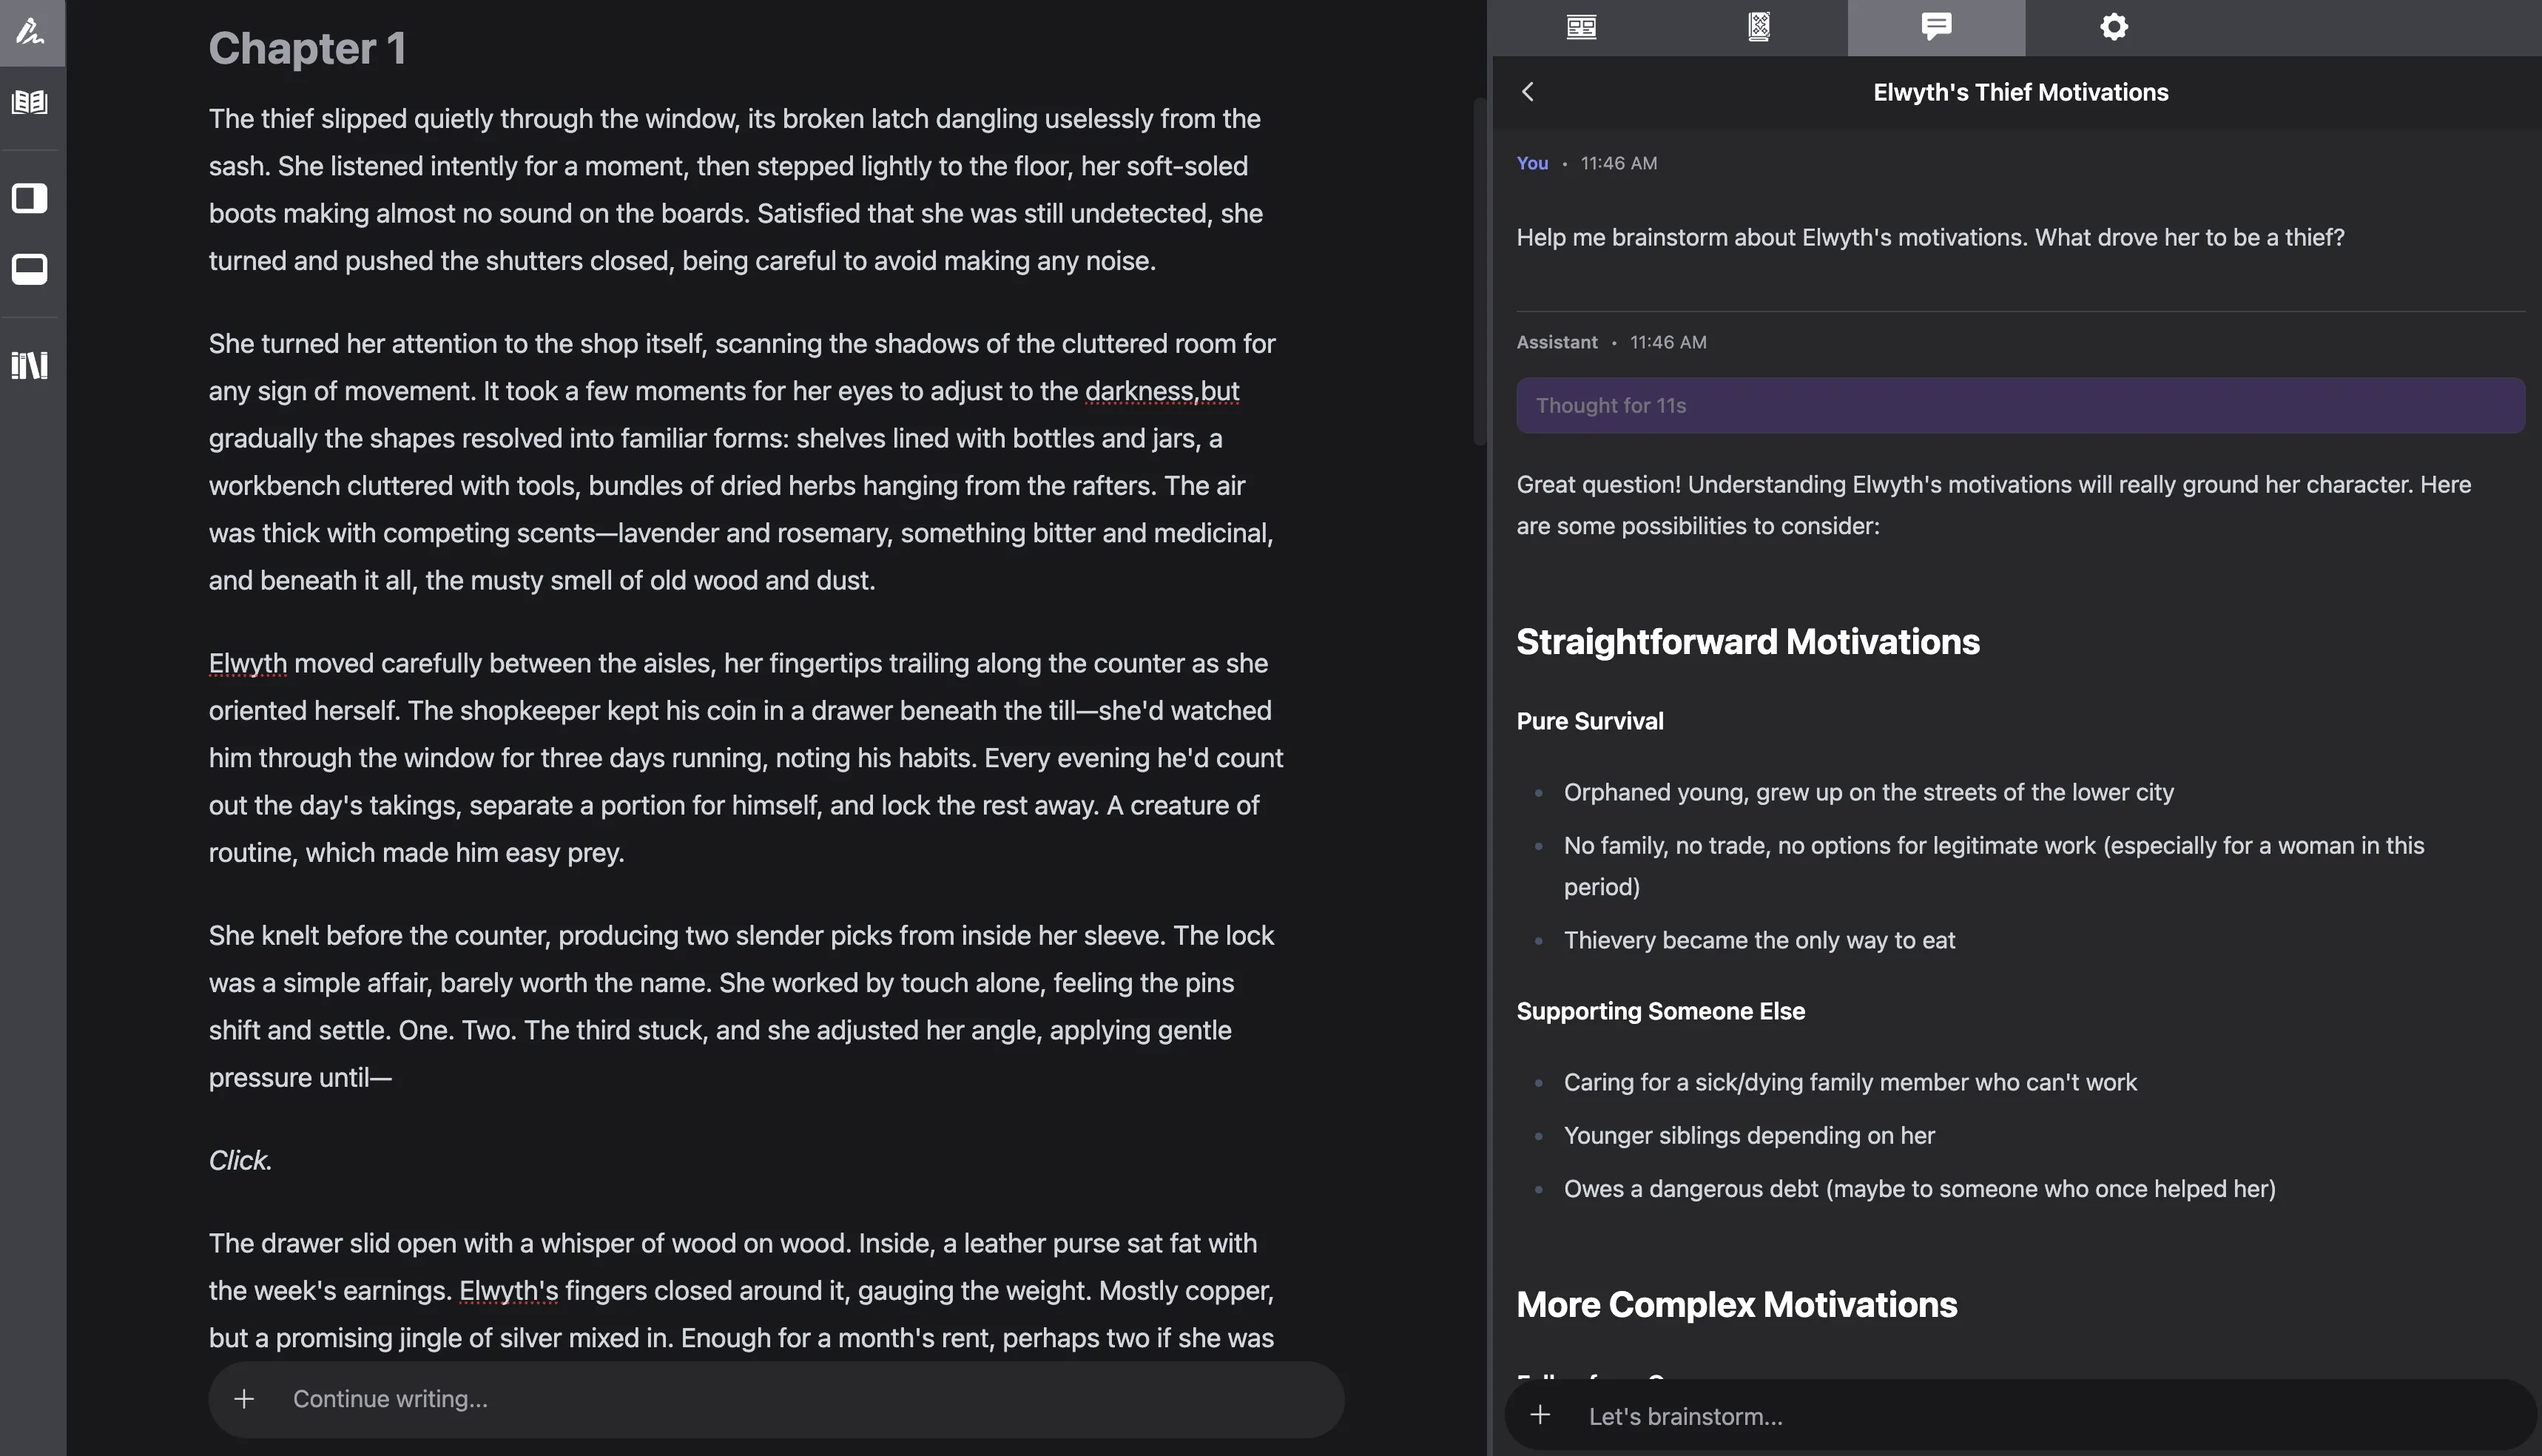
AI Chat
Section titled “AI Chat”Chat should be familiar for most users who’ve used any other AI chat tool. This is a good place to brainstorm character ideas, ask for proof reading, or get general feedback on your story.
More information about settings and configuration can be found in the AI Chat section.
Settings
Section titled “Settings”The settings tab is where you’ll configure the app. Most of the settings here are related to AI configuration. Details about how these settings can be tuned can be found in their respective sections.